How to Clean Makeup Brushes: The Complete Guide to Spotless Bristles and Healthier Skin
Published: 26 Feb 2026
If you’ve been skipping brush cleaning because it feels tedious, this article might change your mind , not with guilt, but with a clearer picture of what’s actually sitting in those bristles between uses. Learning how to clean makeup brushes properly isn’t just about hygiene (though that matters enormously); it’s also about getting better makeup results every single time you use them. Clean bristles blend more evenly, pick up pigment more accurately, and apply foundation without streaking. In short, clean tools are the silent foundation of a great makeup look.
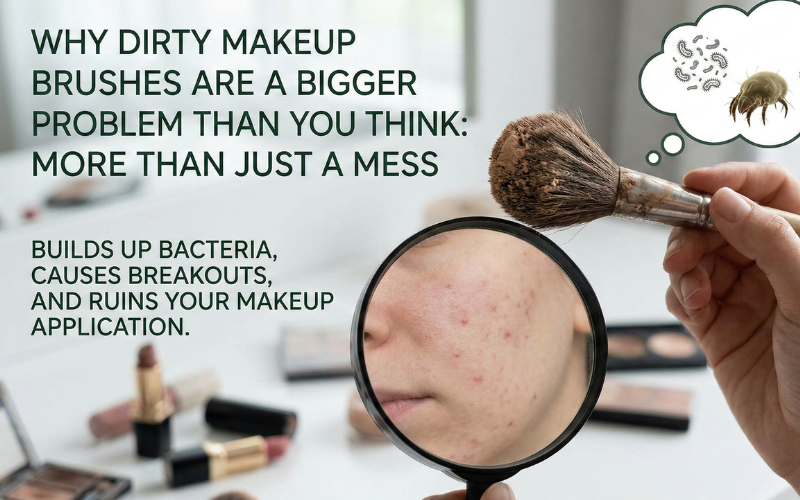
Why Dirty Makeup Brushes Are a Bigger Problem Than You Think
Most people know dirty brushes aren’t ideal, but the full picture is a little more compelling than “they might cause a breakout.” Over time, brushes accumulate layers of makeup residue, skin oils, dead skin cells, and bacteria , all compressed into the bristles and used directly on your face with every application.
According to professional makeup artist Eric Vosburg, not cleaning your brushes can lead to makeup buildup on the brush hairs, which negatively affects the softness of the bristles over time and leads to patchy or streaky application. Beyond performance, dirty brushes are one of the most overlooked contributors to persistent breakouts and skin irritation , especially when liquid foundation brushes aren’t cleaned regularly. The fix is straightforward once you build a routine around it.
How Often Should You Clean Your Makeup Brushes?
Frequency is one of the most common questions, and the honest answer is: it depends on the brush and what you’re using it for. Not all brushes carry the same bacterial load or product buildup. Dermatologists recommend washing brushes every 7 to 10 days to prevent bacteria buildup and protect your skin.
That said, more specific guidance by brush type makes the routine far more manageable:
- Foundation and concealer brushes: Once a week , these work with liquid and cream products that trap bacteria most aggressively
- Eye brushes: Every one to two weeks, or after switching between very different shadow colors
- Powder, blush, and bronzer brushes: Every two weeks to once a month , dry products build up more slowly
- Beauty blenders and sponges: After every use, or at minimum two to three times per week
- Lip brushes: After every use, particularly when using bold or dark shades
The more frequently you clean, the faster each individual session becomes , there’s far less buildup to work through.
What You Need to Clean Makeup Brushes
One of the best things about brush cleaning is that it doesn’t require specialized products to be done well. A handful of items most people already own cover the full routine without any additional investment.
The most effective everyday cleanser options are gentle shampoo, baby shampoo, or a dedicated brush cleanser. You can use a gentle liquid or bar soap, baby shampoo, or even washing-up liquid , just steer clear of harsh formulas with dyes and fragrances, as they can lead to skin irritation. Bar soap is also a reliable option , celebrity makeup artist Eric Vosburg notes he wets the tips of the brush hairs with lukewarm water and swirls the brush a few times on the bar of soap for an efficient clean.
For a deeper clean or stubborn buildup, a textured silicone cleaning mat makes a noticeable difference. The raised ridges work product out of dense bristles far more thoroughly than the palm of your hand alone. A clean towel and a flat surface for drying complete the setup.
How to Deep Clean Makeup Brushes: Step-by-Step
This is the method for a thorough weekly or fortnightly clean , the kind that actually removes buildup, sanitizes bristles, and restores brush performance. Set aside 15 to 20 minutes to work through your full collection.
- Rinse only the bristles Hold the brush with the bristles pointing downward under lukewarm running water. Rinse until the water running off begins to run clearer. Only rinse the tip , submerging the whole brush head will eventually dissolve the glue that connects the brush head to the handle. This is a common mistake that shortens brush lifespan significantly.
- Work in the cleanser Add a small amount of gentle shampoo or brush cleanser to the palm of your hand or a silicone cleaning mat. Swirl the damp brush in circular motions, working the cleanser into the bristles. For dense or heavily used brushes, spend extra time here , foundation and concealer brushes often need two rounds to fully clean.
- Rinse thoroughly Return the brush to lukewarm running water, bristles pointing down, and rinse until the water runs completely clear. A slightly milky or tinted rinse means there’s still product in the bristles , keep going. Repeat the cleanser step if needed for particularly saturated brushes.
- Remove excess water Gently squeeze the bristles from base to tip with a clean dry towel or paper towel. Don’t pull or twist the bristles , just press and release to absorb as much moisture as possible. This shortens drying time considerably.
- Reshape and dry flat Reshape the brush head back to its original form with your fingers. Lay brushes flat on a towel with the bristles hanging over the edge of a counter, allowing air to circulate around them so they dry evenly and thoroughly. Never dry brushes upright in a cup , gravity pulls moisture down into the ferrule, loosening the glue that holds the bristles in place over time.
Quick Clean vs. Deep Clean: When to Use Each
A deep clean every week isn’t always realistic, and that’s where the quick clean becomes genuinely useful. This method is ideal mid-week, between clients for makeup artists, or when you need to switch a brush to a different shade quickly without waiting for it to dry.
The quick dip method involves pouring a brush cleaner or spray into a small container, dipping the brush in, and gently swirling it on a paper towel until the product lifts off the bristles , an approach that works well for a fast clean between uses. Spray-style brush cleaners work the same way and dry even faster, usually within a minute or two.
Quick cleans don’t replace a deep clean , they complement it. Think of them as maintenance between washes, keeping brushes performing well without the full 15-minute routine every time.
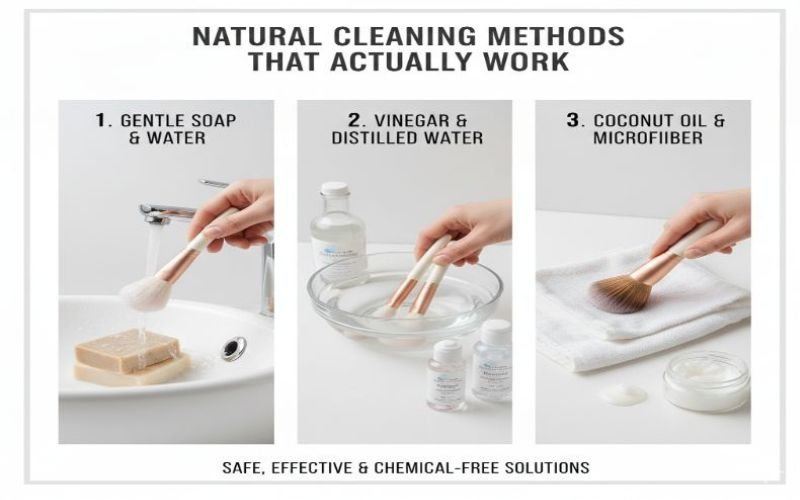
Natural Cleaning Methods That Actually Work
If dedicated brush cleansers aren’t something you want to add to your routine, several household alternatives do the job effectively. Each has slightly different strengths depending on the type of makeup residue you’re dealing with.
- Baby shampoo is the most universally recommended natural option , it’s gentle enough for natural-hair brushes, effective at cutting through powder and light cream residue, and rinses out completely without leaving any film on the bristles. It’s ideal for eye brushes and delicate natural-hair tools.
- Dish soap handles heavier buildup better than shampoo, particularly for brushes used with oil-based foundations and concealers. Its degreasing agents break down lipid-heavy formulas that shampoo may struggle with. Use sparingly and rinse very thoroughly, as it can be drying with repeated use.
A combination of white vinegar and lemon makes an effective disinfecting solution , two tablespoons of white vinegar in a cup of hot water, rinse the brush tip in the mixture, then run it against a cut lemon to remove the vinegar smell. This is particularly useful if you suspect bacterial contamination or haven’t cleaned brushes in some time.
How to Clean Different Types of Brushes
Not all brushes are created equal, and the approach should shift slightly depending on the brush’s construction and the products it handles. Understanding these differences protects your tools and improves results.
- Natural-hair brushes are more delicate and absorb water more deeply, so they benefit from gentler cleansers like baby shampoo and should never be soaked. They also take longer to dry , overnight is the standard expectation. Adding a tiny amount of hair conditioner after washing restores softness and prevents the bristles from becoming dry or stiff with repeated cleaning.
- Synthetic brushes are more resilient and easier to clean thoroughly, but they can be stubborn with oil-based and silicone-heavy formulas. A simple soap can help break down the oils quickly for synthetic brushes. Dense synthetic brushes , the kind used for stippling or airbrushed foundation application , may need two full rounds of cleanser to fully rinse clean.
- Beauty blenders and sponges require more frequent cleaning and a slightly different approach. Soak the sponge in warm soapy water, squeeze it repeatedly to work cleanser through the whole surface, and rinse until the water runs clear. Let them air dry completely , a damp sponge left in a closed container will develop mold far faster than you’d expect.
Drying Your Brushes Correctly: The Step Most People Get Wrong
Drying is where a surprising number of people undo all the good work of a proper clean. The instinct to stand brushes upright in a cup or container to dry is both common and damaging. Never leave brushes upright in a container to dry , the water runs down the brushes and loosens the glue that holds the bristles and handles together over time.
The correct method is to lay brushes flat on a clean towel with the bristle end hanging just over the edge of a counter or table. This allows air to circulate around the full head of the brush without water pooling in the ferrule. Most brushes dry completely within several hours this way; denser brushes may take overnight. For this reason, washing brushes before bed and allowing them to dry overnight is one of the most practical approaches , they’re ready to use by morning with zero compromise.
Signs Your Brushes Need Replacing , Not Just Cleaning
Even with excellent care and consistent cleaning, brushes don’t last forever. Knowing when to retire a brush saves frustration and ensures your makeup application stays at its best. Experts recommend replacing makeup brushes roughly every year, and makeup sponges every three months.
Watch for these signs that cleaning alone won’t fix the problem:
- Bristles that are shedding, fraying, or permanently splayed out of shape
- A brush that no longer applies product evenly despite being freshly cleaned
- Bristles that feel scratchy or rough against the skin
- A persistent odor that doesn’t disappear after washing
- Visible mold or discoloration that doesn’t wash out
Investing in quality brushes from the start and cleaning them properly extends lifespan significantly , but all tools eventually reach the end of their useful life.
Storing Clean Brushes to Keep Them That Way
Cleaning brushes only to store them poorly defeats the purpose. Brush storage matters more than most people realize, both for maintaining cleanliness and preserving the shape of the bristles.
Store clean, fully dry brushes upright in a cup or brush holder with the bristle end facing up , this is the opposite of the drying position, where the bristle should hang down. The bristle-up storage keeps the heads ventilated and prevents flattening. For travel, a roll-up brush case or fabric pouch protects bristles from being bent or crushed in a bag. Never store brushes in a sealed container when they’re still slightly damp , this creates exactly the environment bacteria and mold thrive in.
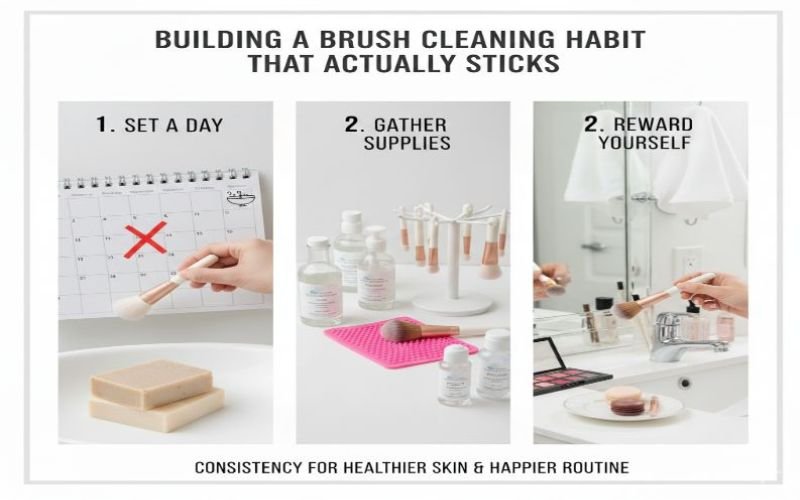
Building a Brush Cleaning Habit That Actually Sticks
The biggest barrier to consistent brush cleaning isn’t knowing how , it’s building the habit. The people who clean their brushes regularly tend to have one thing in common: they’ve attached it to something they already do. Choosing a specific evening each week , Sunday nights are popular , and treating it as part of a broader self-care ritual makes it feel less like a chore and more like maintenance.
Keep your cleaning supplies accessible rather than stored away. A bottle of baby shampoo, a small silicone mat, and a clean towel on the bathroom counter or vanity remove the friction of having to set everything up each time. The easier the process is to start, the more consistently it gets done , and that consistency is what keeps your makeup brushes performing well and your skin clear week after week.
Final Thoughts
Cleaning makeup brushes is one of those habits that quietly improves everything else about your beauty routine. Better blending, longer-lasting products, fewer breakouts, and tools that stay in good condition for far longer , all of it traces back to this one simple practice. The techniques here are practical, the products are things most people already own, and the routine genuinely takes less time once it becomes a habit.


- Be Respectful
- Stay Relevant
- Stay Positive
- True Feedback
- Encourage Discussion
- Avoid Spamming
- No Fake News
- Don't Copy-Paste
- No Personal Attacks
- Be Respectful
- Stay Relevant
- Stay Positive
- True Feedback
- Encourage Discussion
- Avoid Spamming
- No Fake News
- Don't Copy-Paste
- No Personal Attacks
